Showing posts with label preserves. Show all posts

Saturday, November 12, 2011

Freezing the Goodness


Are you one of those clever people that clears out the freezer ever summer to make room for the bounty of berries and sweet corn and then in the dead of winter you pull out these amazing, local frozen berries from the freezer and make your smoothies and baked goods taste like heaven while snickering at the rest of us who have to make due with flown in berries or Europe's Best frozen ones (which are actually a product of Chile?)?


This summer, I sooo wanted to freeze a harvest of blueberries and strawberries -- the problem was, we ate them so quickly, and we could never buy enough. There was also the problem of room shortage in my freezer. Yeah, that'll do it. But we did do something to preserve the goodness of summer: we made preserves! No thick, pectin-laden jam that's almost half sugar. Nope, we made preserves that actually tastes like strawberries, rhubarb and blueberries. It was awesome.


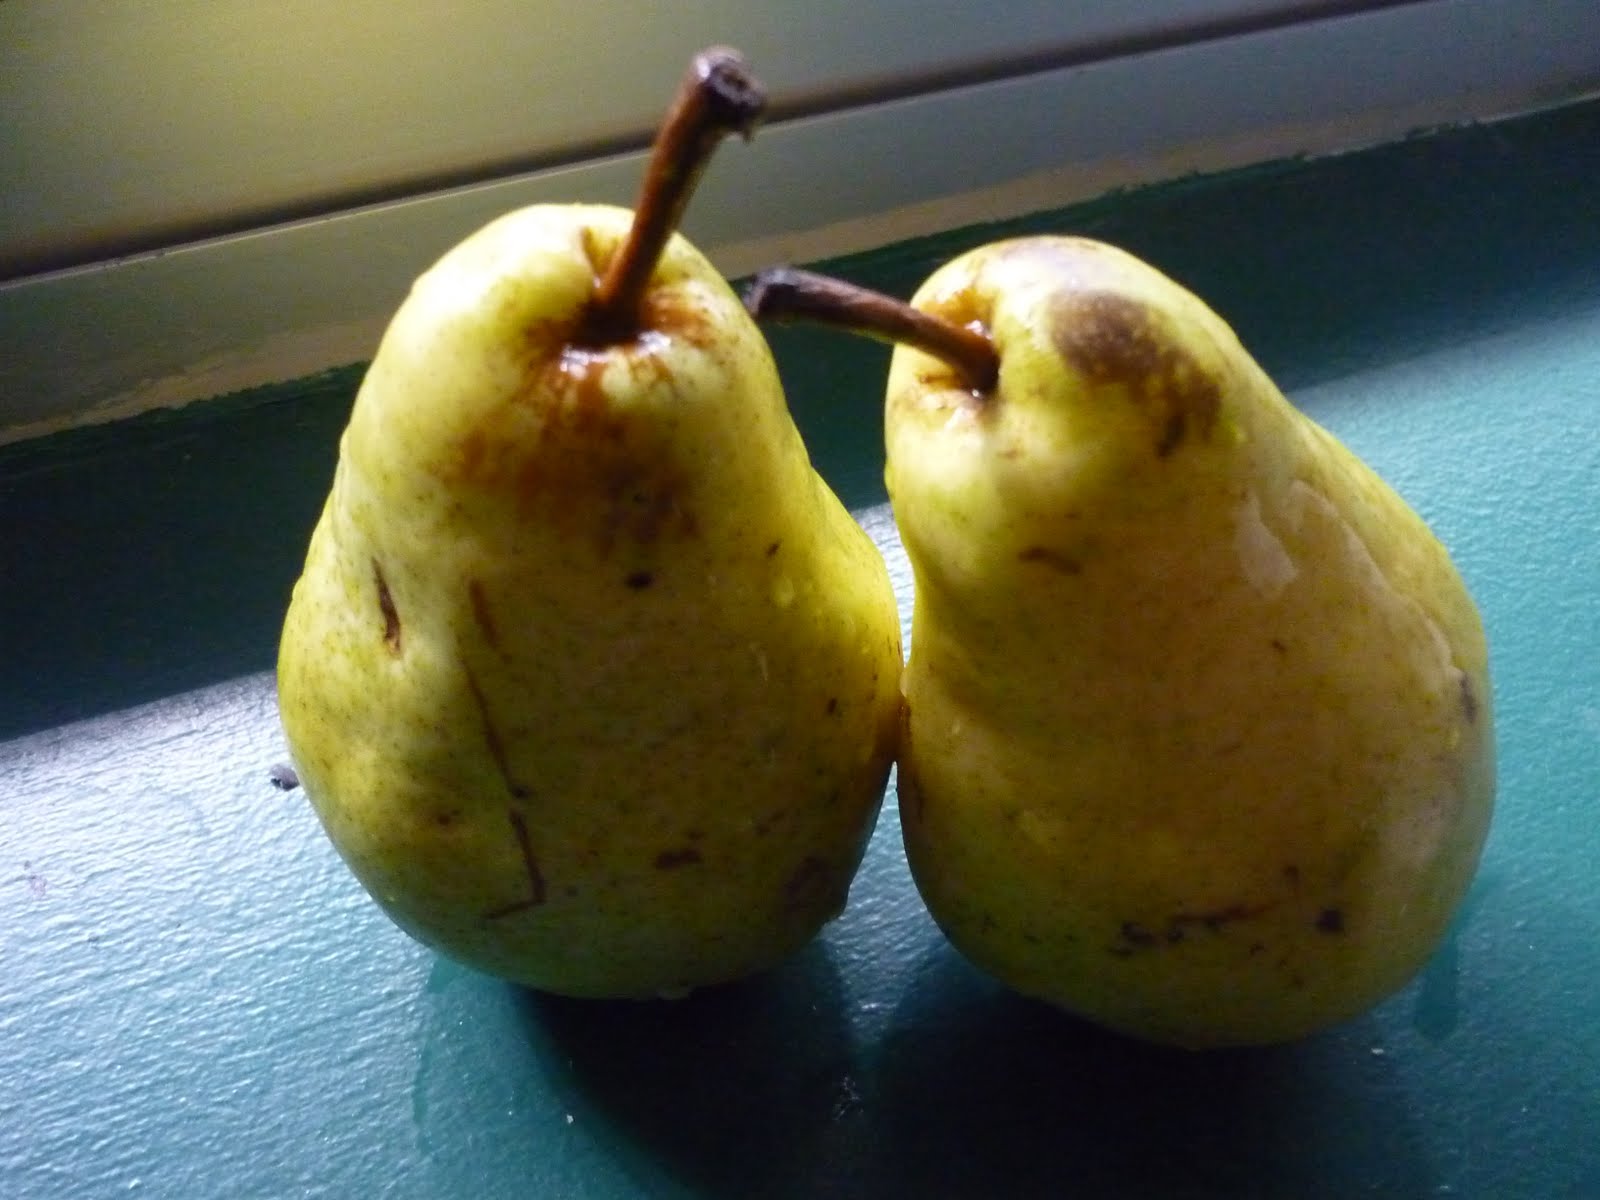
So when fall rolled around -- and I loooooooove fall -- I wanted to preserve a bit of that too. I always get excited about the apples that roll around. A new variety showed up in my local market -- the Ambrosia. Totally delicious. But I find that the apples always overshadow the pears -- which symbolize fall as perfectly as apples do. I remember buying spicy pear jam at a market in Guelph and wanting to re-create it at home. Ours was more of a stewed fruit preserve, with less sugar, kicked up with some fresh ginger and lemon juice and of course, all spiced up. It made for a beautiful topping for my weekend oatmeal brunches, a perfect gift for my mommy, and a welcome alternative to go along side peanut butter. When all was said and done, and the two little jars were sealed and stacked in the freezer, I couldn't help trying one right away. But I'm going to save the other one for early July, when I need a reminder that summer will whip right by me, but fall .. fall is likely to linger..

Spiced Pear Preserves
makes about 1.5 cups -- enough to fill three little mason jars; a really small batch, but I'm sure if you doubled or tripled it would be fine -- just adjust the spices and sugar to your taste.

6 Bartlet pears, peeled and diced
1/2 teaspoon of grated fresh ginger
1/2 teaspoon of cinnamon
1/2 teaspoon of cardamom
a tiny pinch of allspice
juice of half a large lemon
2-3 tablespoons of sugar
splash of water, more if needed

1. Combine all the ingredients in a pot and cook over medium heat, stirring often. When the pears start to break down (about 10 minutes later), turn the heat down to low and let it cook.

2. In the meantime, sterilize your stuff by placing the jars (face up), rims and lids (seal side up) on a cookie tray and in a 200 degree oven for about 20 minutes.

3. By the time your pears are nice and softened and the juices have thickened, your jars will be ready. Carefully spoon the pears in each jar. Seal tightly and turn them upside down on the cookie tray. Let them stand for 20-25 minutes, after which time, they should have sealed.

4. You're ready! Freeze or eat at your leisure! :)

Monday, July 26, 2010

We made JAM!!!!!


Ok, so there are some things that I will readily try in the kitchen -- basically anything vegetarian, anything soup/stew-like and most baked things. There are certain things that I almost always stay away from: complicated, multi-step, multi-layered desserts (although for a special loved one's birthday cake, I'd go all the way!), puffed pastry and canning/preserving. I thought by starting this blog, I would get motivated to conquer some of my kitchen fears. And I have! I've made rolled-out cookies which I'd never attempted before out of pure laziness, pizza dough involving yeast, which frightens me to bits (post coming soon!) and most recently ... JAM!! Yup, we made JAM!

When blueberry season came about and my loving partner shared fond memories of his grandmother making fruit preserves, I just had to give it a try. So, I sucked up my fears and we went shopping. 2 pints of blueberries and 4 cute little mason jars later and I was in front of the computer looking up recipes. And boy are there a lot! I wasn't so concerned about the ingredients; I was more worried about the method. All that talk of sterilizing the jars and different methods to make that little suction button on the lid pop so you'd know it was properly preserved, almost made me change my mind. But, I pressed onward! After a few searches, I came up with a recipe and method that I felt comfortable with.


The first thing we did: reduce the sugar. Geez! In one recipe, it called for 2 cups of sugar for 1.5 pints of berries. Ok, ok. Jam is supposed to be sweet, but this would be jam OUR way: fruity, lemony and just sweet enough to take away the puckering reflex. Yum! Next, we kind of combined the freezer method with the normal preserving method due to the fact that I am soooo paro of getting botched. We sterilized by putting the jars and lids in the oven on low heat, but when it came to activating the vacuum seal, I cringed at the thought of immersing them in boiling water .. BUT! I discovered this crazy-wonderful blog "My Sister's Kitchen," where they made pectin-free jam, AND they sealed the jars using a simple method: they turned the jars upside-down, let them sit, turned them right-side up again and left them alone. Fifteen minutes later and poof! Sealed. Did it work? Like a charm! Am I still paro! Yup! So I stuck our preserves in the freezer. Oh well. Maybe when we return from our week in Moncton (!!!) we'll make peach preserves, or sour cherry preserves and I'll have the guts to leave them unfrozen.

So ... if you were EVER scared of making preserves, don't fret! Just do it! It's easy! See you next Wednesday!

Tart Blueberry Preserves - makes 4 little jars
with help from Ina Garten and My Sister's Kitchen

2 pints of blueberries
zest and juice of one lemon
1/3 cup of sugar
4 x 125ml mason jars

** This makes a very lemony, tart preserve. Add sugar to your liking. Also, it doesn't set up like a jam or jelly, but it definitely thickens well and is totally spreadable

1. Wash and pick through your blueberries carefully. Put them in a large pot with the lemon juice, zest and sugar.

2. Simmer on medium heat, stirring frequently until the berries breakdown and the liquids have thicken to coat the back of a spoon.

3. While your berries are simmering, prepare your jars. Place the jars and lids (seal side up) on a sheet pan, making sure they don't touch each other, and place in a 175 degree oven for about 20 minutes.

4. When the berries are done, spoon them into the hot jars, making sure that you don't fill the jars all the way up (especially if you're putting them in the freezer .. fill them about 2/3 of the way). Using tongs, carefully place the lids over the jars and twist on the outer part of the cap. Immediately turn them upside down and let them sit for about 10 minutes. Turn them back over and let them sit for an additional 5 minutes, or until all the vacuum seals have activated (the top of the lids are all popped down).

5. YAY!! You just made JAM!! Woo hoo!!